This guide shows how to lace adidas icon 4 trainer pairs for Retail Displays, Try-Ons, and resale Photos, with attention to fit, lace length, and presentation. The adidas Icon 4 Trainer is a low-cut turf shoe, so the laces need to secure the midfoot without pressing on the toe box. Store owners and online sellers can use one basic method, then adjust tension for the sales channel.
Start by checking the shoe, not the lace. Run a thumb around the collar, press the tongue, and look for bent eyelets or crushed padding. A clean shoe with poor Lacing still looks shopworn, while a simple lacing pattern on a tidy pair reads as ready to sell.
Why the Icon 4 Trainer Needs a Different Lacing Approach
Turf trainers sit close to the ground and often have a firmer heel counter than a running shoe. That shape rewards flat, even tension through the midfoot. If the laces pull too hard across the instep, the tongue can curl and the lower eyelets can look strained.
For players, the goal is lockdown during side-to-side movement. For retailers, the goal is a clean shape that invites a try-on. Those goals overlap more than most clerks expect. A pair that looks collapsed on the shelf usually feels vague on the foot, too.
A high instep or a wide forefoot changes the tension plan. In those cases, keep the bottom two rows slightly looser and take up the slack near the top. That approach protects the toe box while still holding the heel.
Step-by-Step Lacing for a Clean Retail Pair
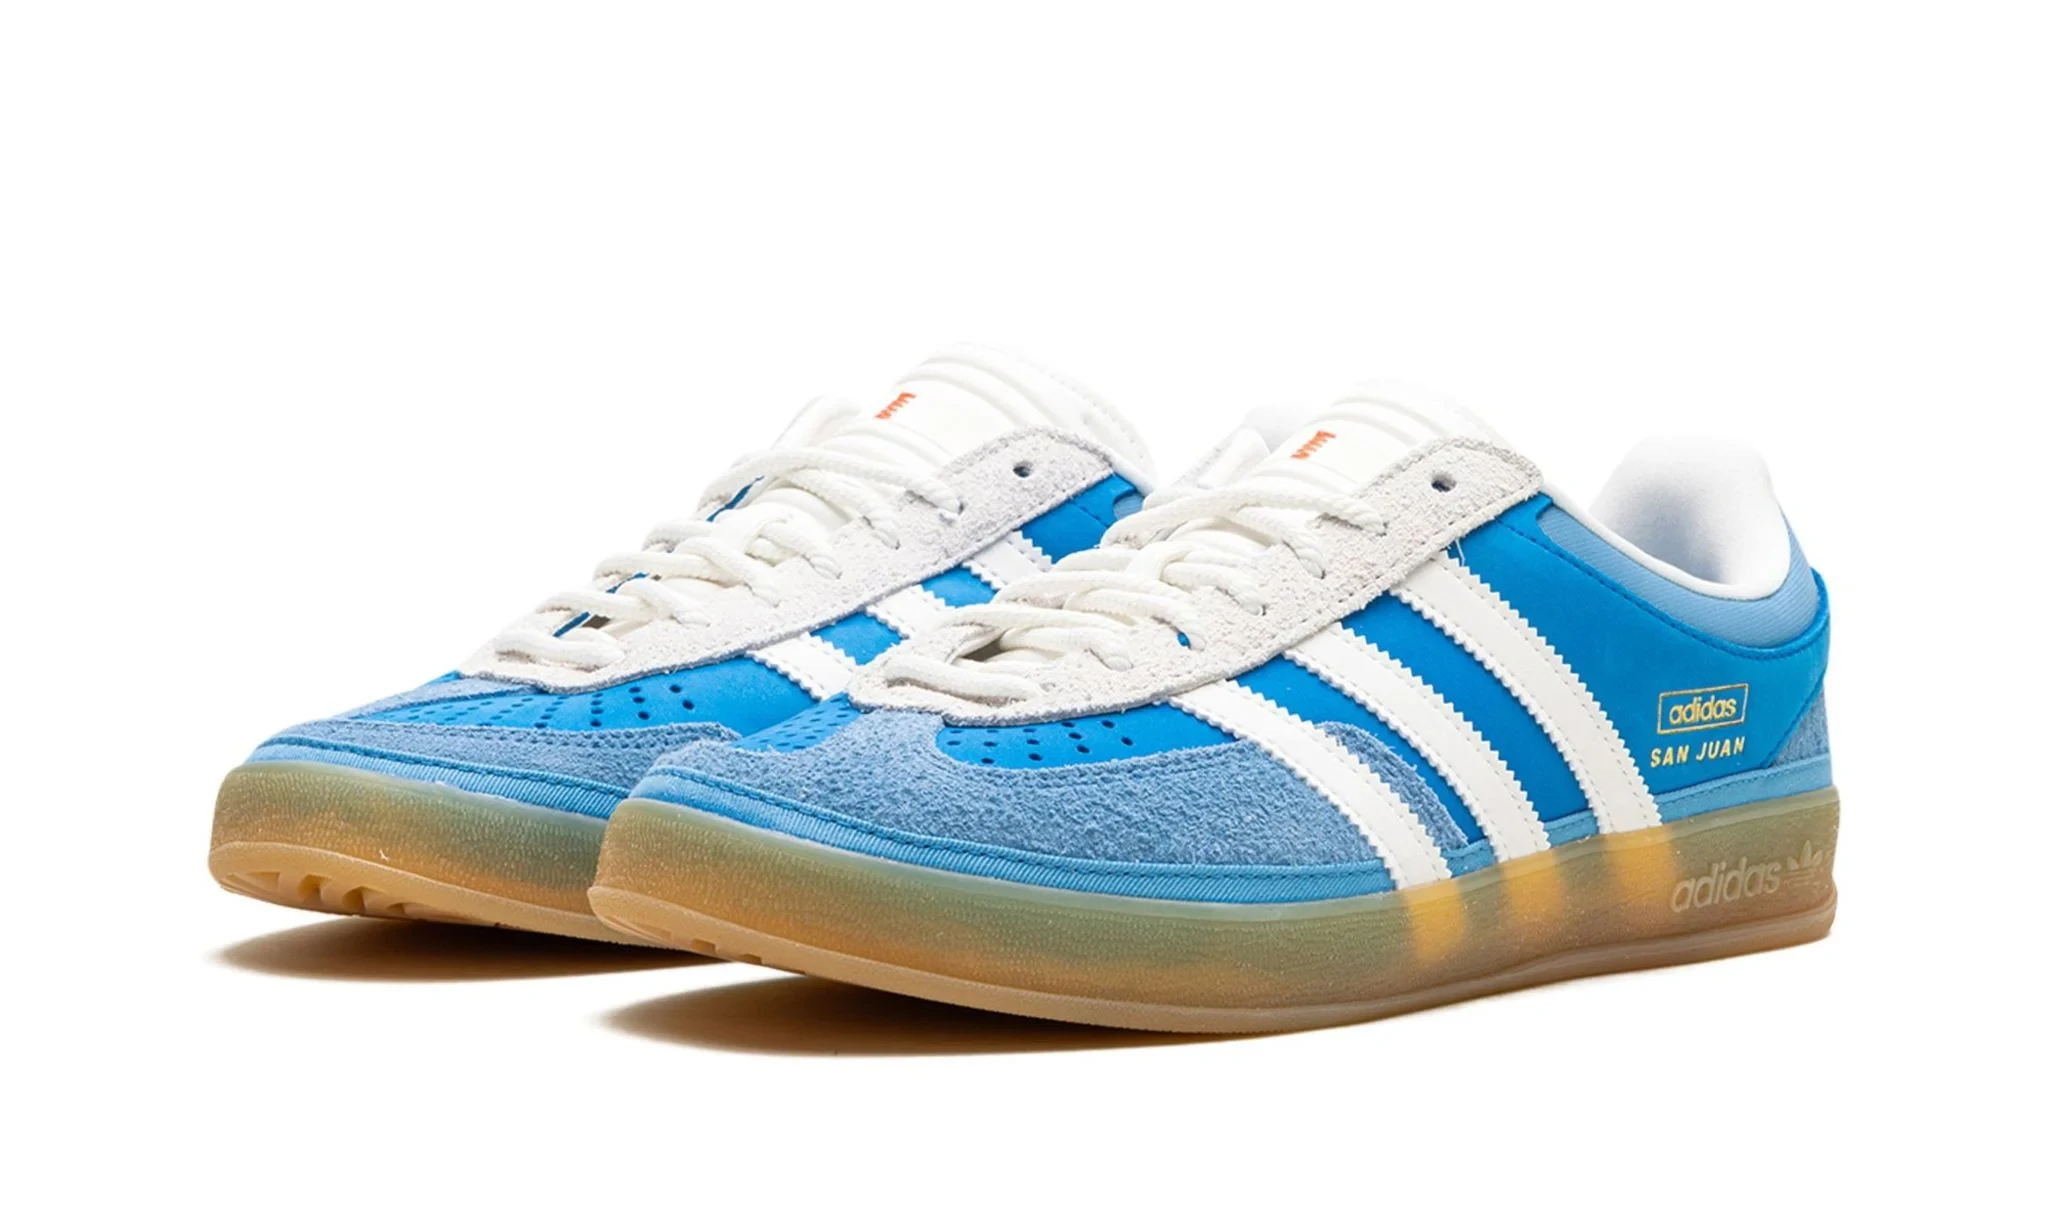
When a customer asks how to lace adidas icon 4 trainer shoes for a quick try-on, begin at the bottom and work upward. Keep the pattern simple unless the shoe is being prepared for a specific player. Fancy lacing slows down service and can distort the upper.
- Remove the old laces and wipe the eyelets with a dry cloth. Check that both laces are the same length; mismatched laces are a common sign of a rushed return.
- Feed the lace from the outside into the bottom two eyelets. Keep the ends even, then cross them over the tongue.
- Work upward in a simple crisscross pattern. Keep the lace flat at every eyelet, not twisted or doubled.
- Stop one row below the top eyelet for display pairs. Leave the top row open so the collar keeps its shape.
- Tie a compact bow or tuck the ends under the tongue for photos. For a try-on, leave the bow loose enough for the customer to slip the shoe on without unlacing it.
- Check the heel by pressing down inside the collar. If the heel lifts easily, add one more row of tension before the top eyelet.
The list above covers how to lace adidas icon 4 trainer pairs for a clean shelf look, but tension still has to match the use case. A display pair can be slightly relaxed. A pair headed to a player should feel locked in at the midfoot while the toes stay free.
Lace Length, Eyelets, and Tension by Use Case
Lace length depends on eyelet count, shoe size, and the thickness of the lace. Measure the removed lace end to end before ordering replacements, or confirm the length with your supplier. A lace that is too short will not reach a secure bow; one that is too long creates loops that hide the tongue and collect dirt.
| Use case | Lacing approach | Target feel | What to avoid |
|---|---|---|---|
| Floor display | Flat crisscross with the top eyelet open | Snug at the midfoot, relaxed collar | Over-tight top row |
| Customer try-on | Crisscross with a loose bow | Heel locked, toe free | Double knots that slow the try-on |
| Resale photos | Clean crisscross with ends tucked | Even spacing and a visible tongue | Long loops that cover the upper |
| Player fitting | Crisscross, plus a heel-lock at the top if needed | Firm midfoot, no pinch | Cranking the bottom rows |
Use the table as a starting point, not a rulebook. The same size can need different tension when the customer wears thick socks or has a high instep. Ask the customer to walk a few steps, then check the heel and the top of the tongue before making a final adjustment.
Lace material also changes how the bow holds. Cotton laces grip better but can stretch when wet; synthetic laces slide and need a tighter initial tie. For retail, match the material to the original spec so the pair photographs and feels as the brand intended.
Common Lacing Mistakes on the Sales Floor
The most common mistake is lacing every pair as tightly as possible. That habit can make a low-cut turf trainer feel narrow and can leave creases across the instep before the shoe ever leaves the store. Tight laces also slow down a try-on, which matters when a customer is comparing three or four pairs.
Another mistake is mixing lace colors or patterns between the left and right shoe. Buyers notice this in photos, and it signals that the pair was handled without care. Keep spare laces sorted by color and length, and replace a damaged lace before the shoe goes back on display.
Photo sets create another trap. A pair laced for a wide, flat look may photograph well but feel loose in person. Shoot the pair as it will be sold, not as a one-off prop.
Finally, do not hide a fit problem with lacing. If the heel slips after a normal crisscross, check the size and the heel shape rather than pulling the top row hard. Lacing can refine fit, but it cannot fix a shoe that is the wrong length or width.
Pre-Sale Lacing Checklist
Use this checklist before you decide how to lace adidas icon 4 trainer stock for a customer or a photo set. It keeps the process consistent across staff members and makes it easier to train new hires.
- Inspect both eyelets for cracks, bends, or sharp edges.
- Match lace length and color on the left and right shoe.
- Keep the lace flat at every crossing, with no twists.
- Leave the top eyelet open on display pairs unless the collar needs support.
- Check heel hold with a thumb inside the collar, not by pulling the laces hard.
- Photograph the pair from the side and top before boxing.
- Note the size and lacing style on the stock tag if your store uses one.
For online orders, lace the pair as it will ship. If you show a bow in the listing, pack the shoe with the same bow and protect it with tissue. A different arrival presentation can turn a normal return into a complaint.
Consistency matters more than speed at first. Once the team has a standard crisscross method, a display pair should take only a minute or two to prepare. That time pays back when customers can try on a shoe without fighting the laces.
FAQ
Does the Icon 4 Trainer need a heel-lock lace?
Only if the heel lifts during a normal try-on. A heel-lock can help narrow heels or players who cut hard, but it adds bulk near the top eyelets. Try a standard crisscross first, then add the lock if the fit needs it.
What lace length fits the Icon 4 Trainer?
Measure the existing lace end to end and use that number as your baseline. Length varies with shoe size and eyelet count, so confirm with your supplier before ordering replacements. Keep a small range on hand rather than one length for every size.
Should both shoes be laced the same way?
Yes for retail displays, try-ons, and resale photos. A matched pattern looks intentional and makes the pair easier to inspect. For a player fitting, you can adjust tension side to side, but keep the pattern itself the same unless a fitter recommends otherwise.
Can I use aftermarket laces on pairs for resale?
Use aftermarket laces only if they match the original length, width, and color closely. Mismatched hardware or a different lace texture can raise questions for buyers. When in doubt, source replacement laces through your supplier and disclose any change.
How do I keep laces from loosening in storage?
Tie a compact bow and tuck the ends under the tongue, then place tissue inside the collar to hold its shape. Avoid hanging pairs by the laces, since that stretches the eyelets and distorts the bow. Check stored pairs before they go to the floor.
If you are sourcing Icon 4 Trainer stock for a shop or online store, ask your supplier about lace length, replacement laces, and pack consistency before you place an order. A clear lacing standard protects presentation, speeds up try-ons, and reduces returns. Contact your supplier for current availability and terms.